Showing posts with label Recipes. Show all posts

Thursday, March 24, 2011

Home-made Chicken Noodle Soup

A few weeks ago I found a burst of productivity and slammed out to massive meals in one fell swoop.

Why this productivity can't hit me all the time, I'll never know... but if it did I'm pretty sure I could solve world hunger...and peace.

Yes. I'm that productive.

It all started with the whole frozen chicken we got for free from Manna (an awesome program at a local church that provides us with free food! Score!)

I first decided to make a casserole (I'll be posting that later this week) and then I found that I had  A LOT of broth, and quite a bit of chicken left over.
Which meant...

chicken noodle soup.

What you need:
Whole Chicken
Water
Carrots (as many as you can handle)
Celery (same as above)
Onion (same as above)
butter (to saute celery and onions)
2-3 Eggs
Flour (no exact amount you'll see why later)
Parsley 
Salt
 Step 1:
fill up a large stock pot with water and place the chicken in.
make sure that the chicken is pretty much covered with water.

Bring it to a boil then drop it down to a simmer and let it sit with a lid on .
It took maybe 1.5- 2hours for my chicken to be done.
The legs will literally be falling off and the skin will come off easily.

When your chicken is done take it out and let it cool.

Step 2: 
Once the chicken has cooled start ripping the meat of the bone.
If you are a vegetarian the next picture may frighten you.


Your chicken will end up looking kind of like this. This was maybe 1/2 way through the process.


(I forgot to mention... the water you boiled your chicken in has now become your broth...so please don't toss it out!)

Step 3:
Chop up your veggies and add 'em in!


Step 4:
As for the celery and onions...
sauté them in some butter before adding them into the mix.
Why?
I'm not sure... my mom told me too.
But it did add some yummy buttery flavor to the pot!


Next come the "noodles" or as my mom calls them..
rivlets.

Step 5:
Take your eggs and beat them with a fork. Add in some salt and parsley and stir it all together.


Step 6:

Now you'll want to start adding in flour.
Keep mixing until the batter is quite thick. As in it takes like 3 minutes for a glop of it to fall off the fork :)
Ok... maybe not that thick. But it definitely should NOT be runny.


Just waiting for the Rivlets to arrive


Step 7:

Put your rivlet batter into a strainer (yes, it's weird. just do it. my mom said so.)

And start smashing it through.


You want little tiny dumplings in your soup, not great big ones.
Or maybe you do want great big ones... but for the purpose of this post, you want tiny ones.


I guarantee that your arms will start to hurt from holding the strainer and trying to smash the rivlet batter through the tiny holes.


I also guarantee that you will then make your husband do it while you steal the camera and get some awesome shots of the rivlets.


And this goes without saying... but all that work will have totally been worth it when this batch of soup feeds you, your husband, and friends for the next couple of days.

Super Easy. Super Delicious.

Enjoy!

Saturday, February 19, 2011

Dinna' Time

Tonight Jon and I found ourselves in a bit of a quandary.
Jon had been sick all day, I'd been studying, and we had church at 6.
While I thoroughly enjoy Saturday evening church, it's a difficult time to plan dinner around.
We don't like eating before because it's too early, and by the time we get home at 8 we don't want to take the time to prep and cook.

We were thinking of some sort of cheesy potato creation and something to use up the massive amounts of venison we have occupying our freezer space.

So I decided to was time for the crock-pot to pay a visit and we whipped up this little creation in no time!

Now I will say... the pictures aren't fabulous (dang you yellow lighting!) and there are non of the prep, but it's beyond simple... and it's so satisfying :)

What you'll need:

6-7 potatoes sliced (we did ours a it thicker, but you can do any size)
1 chopped onion
1 lb ground venison (or hamburger, ground turkey... or whatever you prefer)
Lowry's season salt
2 heads of broccoli
3/4 c milk
1 can cream of mushroom soup
Shredded Cheddar Cheese (as much as you prefer)

1) use your prep crew (i.e. Jon) to slice potatoes, cut onions, and split up the broccoli.
2) While your prep crew is doing that, brown the meat with seasoned salt and some garlic powder if you like.
3)layer the potatoes, onions, venison, broccoli and cheese... then layer 'em again
4) stir together milk and cream of mushroom soup and pour on the top of your layers
5) put the crockpot on high and come back from church 3 hours later... and dig in :)


a little salt and pepper on top to taste and you've got yourself a hearty, yummy, satisfying meal :)


And don't forget to enjoy with some Woodhuck Hard Cider...

What are some of your fave crock-pot creations?

Wednesday, December 15, 2010

Nut Butta Baby!

For those of you that don't know, I'm an avid follower of healthy living blogs. Tips, advice, recipes all about healthy living... for free. It doesn't get much better that that!

One craze that has been sweeping through is homemade nut butters and I've been wanting to make my own for a solid 6 months, but Korea didn't have quite what I needed, and I wasn't willing to pay a whole lot. So I had to wait... and boy was it worth it!

The first step was buying this baby...


I'm pretty sure the Hallelujah chorus started playing as soon as I opened this up. It was a glorious moment, and of course I had to use it ASAP.

I found the recipe at The Edible Perspective Ashley is always coming up with some amazing recipes. I changed it up just a smidge, but not too much. It was perfection from the start.


Start off with some almonds


and some yummy maple syrup


coat it up reeeeeeeeal nice.... (I may have added a bit o honey as well)


Roast them, and munch... just for quality testing of course


Pop 'em in your glorious food processor


Keep on Keepin' on


Break up the butta ball


add in some more fun!


creamy perfection... and yes, that's my foot... I was standing on a stool. you gotta do what you gotta do.


Why hello there... do you come here often??


mmmm only at breakfast :) it was the perfect topping for my steel cut oats... seriously so good.


Now for the recipe you've all been waiting for...

Maple Almond Butter
2.5 cups Almonds
2 T. Maple Syrup
1 T. Maple Syrup (to be added at a different time)
1 T. honey
2 t. flax seed
1 t. Salt
1/2 T oil

1. spread out your almonds on a roasting pan (use parchment paper!!!)
2. drizzle 2T Maple Syrup and 1T honey and stir it up!
3. Roast for 15-20 minutes and stir every 5 minutes
4. Take out and let cool for about 15 minutes.
5. put into the food processor and start mixing away!! It will honestly take close to 15 minutes, it will for balls and you just need to break it up and scrape the sides. Let it get buttery.
6. Add in flax, 1T maple syrup,  and salt. Start processing again until it's all combined.
7. Stream in the oil (I used canola) I actually needed more than that (more on that later)
8. ENJOY on everything imaginable.

Where Sara went wrong...
 I used wax paper instead of parchment... which meant the almonds literally cooled right on to the paper... so that was a fun 10 minutes of scraping and cutting paper off of the almonds. Hopefully you wouldn't have the same issue if you used parchment

Also... I don't know that I blended just the plain almonds enough... I got freaked by the huge balls that kept forming and I just used the oil... I'm pretty sure had I just kept breaking them up and kept on blending I wouldn't have needed to use more oil.

Other than that it was easy and delicious :)

Do you like nut butters?? Have you ever made your own?

Wednesday, September 22, 2010

Chicken Squares


For Jon's birthday last week we decided to celebrate in style... with his favorite meal. 
Chicken Squares.

Simple, Satisfying, and Super Delish.

Jon's Mom (hi patty!) always made these for him, and they are still his favorite. But this year I put a bit of a healthier twist on them. Still good, but better for you!

To start you'll need to my no-rise pizza dough recipe.


Then for the innards you'll need...

Chicken Squares (makes six)
-3 smallish chicken breasts
- Garlic Powder (to taste)
-Broccoli (11/2 heads)
- 2T Milk
- 6 oz. Cream Cheese
- Salt and Peppa (to taste)

Direcciones:

Cook the chicken in the microwave and dice up/shred up into smaller pieces. SAVE the chicken juice.

Mix together the cream cheese, milk, chicken juice, Garlic, and salt n' peppa... it'll make ya wanna' shoop (ok am i the only one that knows that song??)

Then add the chicken into the mix!


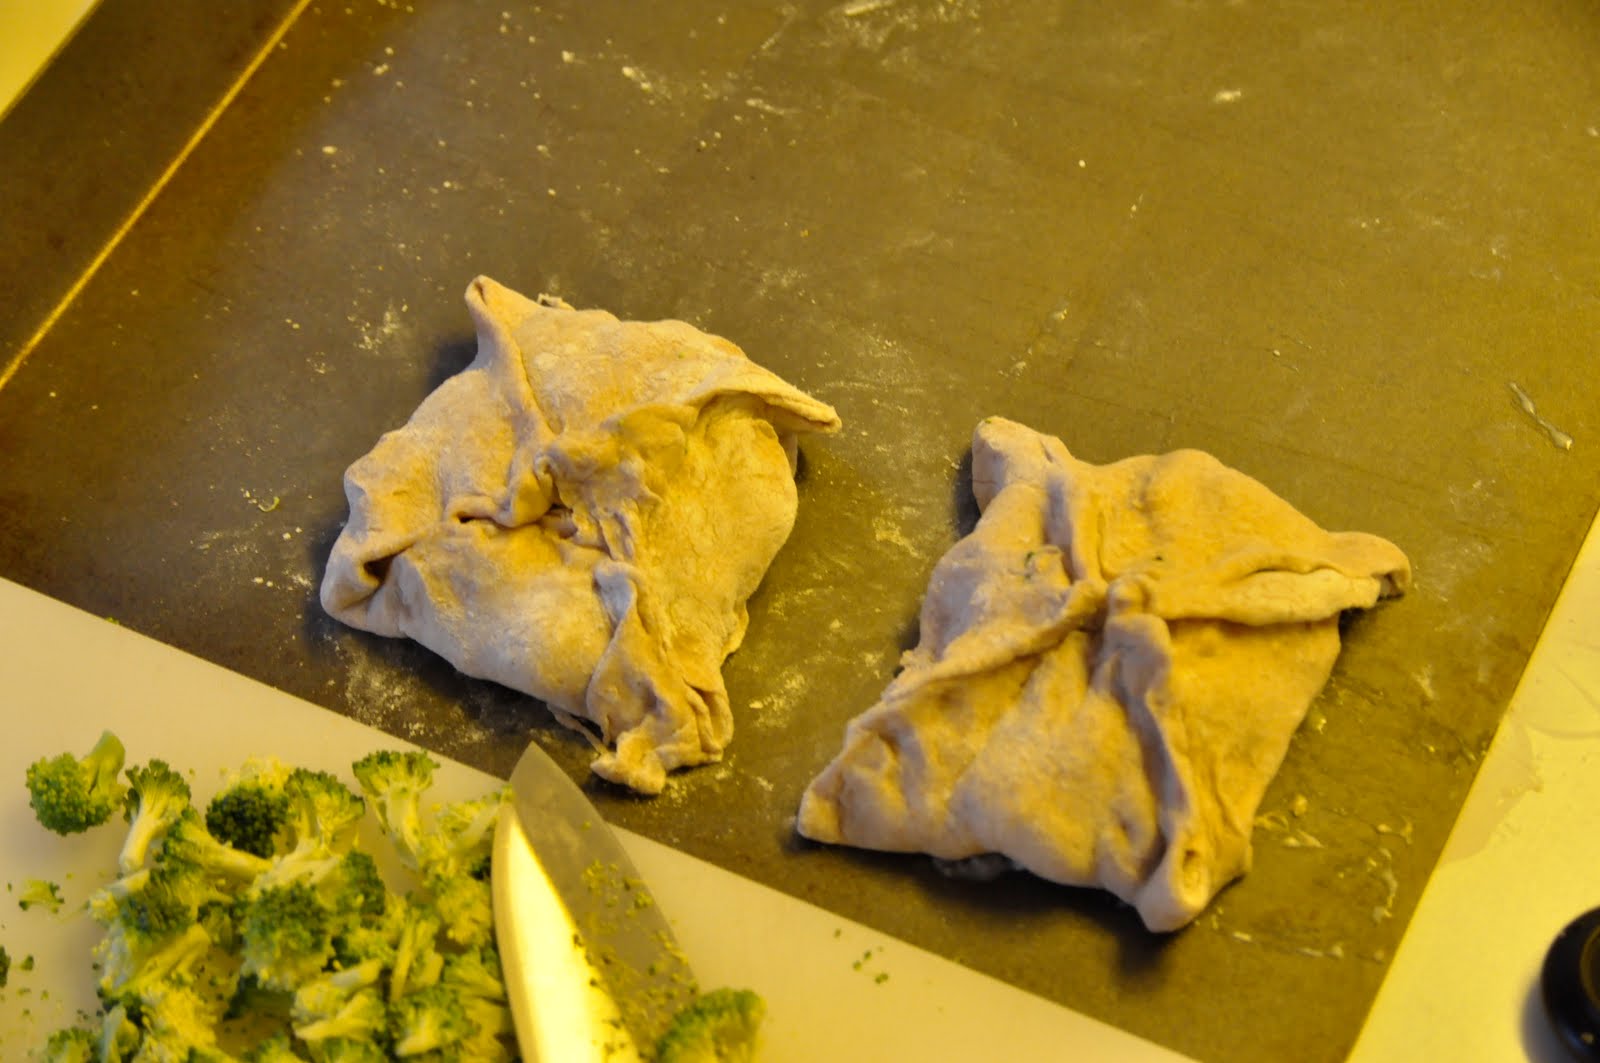
Seperate the dough into 6 little buns and then spread 'em out into a square shape ( but don't go to thin otherwise it'll rip and your innards will be spilling out... trust me, I learned the hard way.)


Place your innards in and place the broccoli on top!


Bring the sides up and pinch it together to make a little
Square


Yes... the name is all coming together now.

When they're all done put 'em in the oven for 30 min at 350.


Serve with your husbands other favorite dish... the classy velveeta mac n' cheese


Polish it off with some birthday cupcakes (or 2) and you're good to go!

Now, these squares didn't turn out as creamy as I would've liked, so maybe a bit more cream cheese might've worked? I also think the laughing cow cheese would make a great replacement...I can't wait to experiment when we get home!

Wednesday, September 8, 2010

Homemade Ice Cream

Going back to school for these short few weeks has made me extremely lazy in lesson planning. I just really don't want too. But not having lessons, is not an option. Luckily the 2nd graders, as part of their lesson book, had a recipe for some homemade ice cream. A fun, easy, delicious way to kill two class hours?? Sign me up!!!

So the search for an ice cream recipe that doesn't require the use of an ice-cream maker became my new past time.

I found a few on all-recipe.com and about.com and some other cooking sights and decided to mix and match a little bit. The end result was excellent, and the students loved it! So here it is... homemade ice cream...


The Cast of Characters

- 1 1/2 cups  Milk
- 2 eggs
- 3/4 cup sugar
- 1 tsp. Vanilla
- 1 1/2 cups heavy cream

Clearly this is not for the health conscious, and you really could just make it all with skim milk, but the more fat content, the more creamy your end result will be!


Whisk the eggs and milk together


Add in the sugar and the Vanilla


Heat over a low/med heat and stir continuosly


You want it to get a bit thicker, not pudding thick, but on it's way to that.
DON'T leave it unattended or stop stirring... that's when it boils over and covers your little burner and pot... lesson learned.


Pour the cream into the bowl.


Pour in the rest of the concoction and stir it up!


Cover in plastic wrap and whip out the peace sign

Then you can do one of two things. 
1) Put it in the freezer and stir every 30-45 min while it's freezing. This produces a creamier texture, instead of just a solid ice chunk of vanilla. The ice chunk will still taste great, but the texture won't be as fantastic.
2) Let the mixture cool in the fridge for a few hours then place 2 cups in a quart size bag. Get a Gallon size bag and fill it half up with ice and add some rock salt.  Put the quart bag in the gallon bag and start shakin' what your mama gave you for about 10 minutes! 
*Disclaimer... I read many sights that said this option (#2) was great. Jon and I experimented, but it didn't work... at all. I'm assuming that we didn't have enough ice.)

Anywho we clearly went with route number 1 and it worked splendidly.


After it's frozen you have nothing to do but enjoy the vanilla-y goodness :)

Wednesday, September 1, 2010

Lovin' the Na'an

Every week we enjoy a little Indian/Nepalese food  and it's always delish.

Part of this amazingness is the glory of Na'an bread :)

So of course I have to share the recipe with ya'll!


The cast of characters:

1 tsp. Yeast
3 Tablespoons warm water
1 tsp honey
( put all of this together and let it sit for 5 min)


then add in:

1 cup whole wheat flour
1/2 cup white flour
1/4 tsp salt
1/2 tsp. baking powder
1 Tablespoon oil
2 Tablespoons yogurt
2 Tablespoons milk

Mix it all together and then knead the dough right in the bowl for a good 5-6 minutes.

You'll get this lovely little lump of love.


Cover with a tea towel and let it sit for 10-15 minutes


Separate the larger ball into 4 mini ones

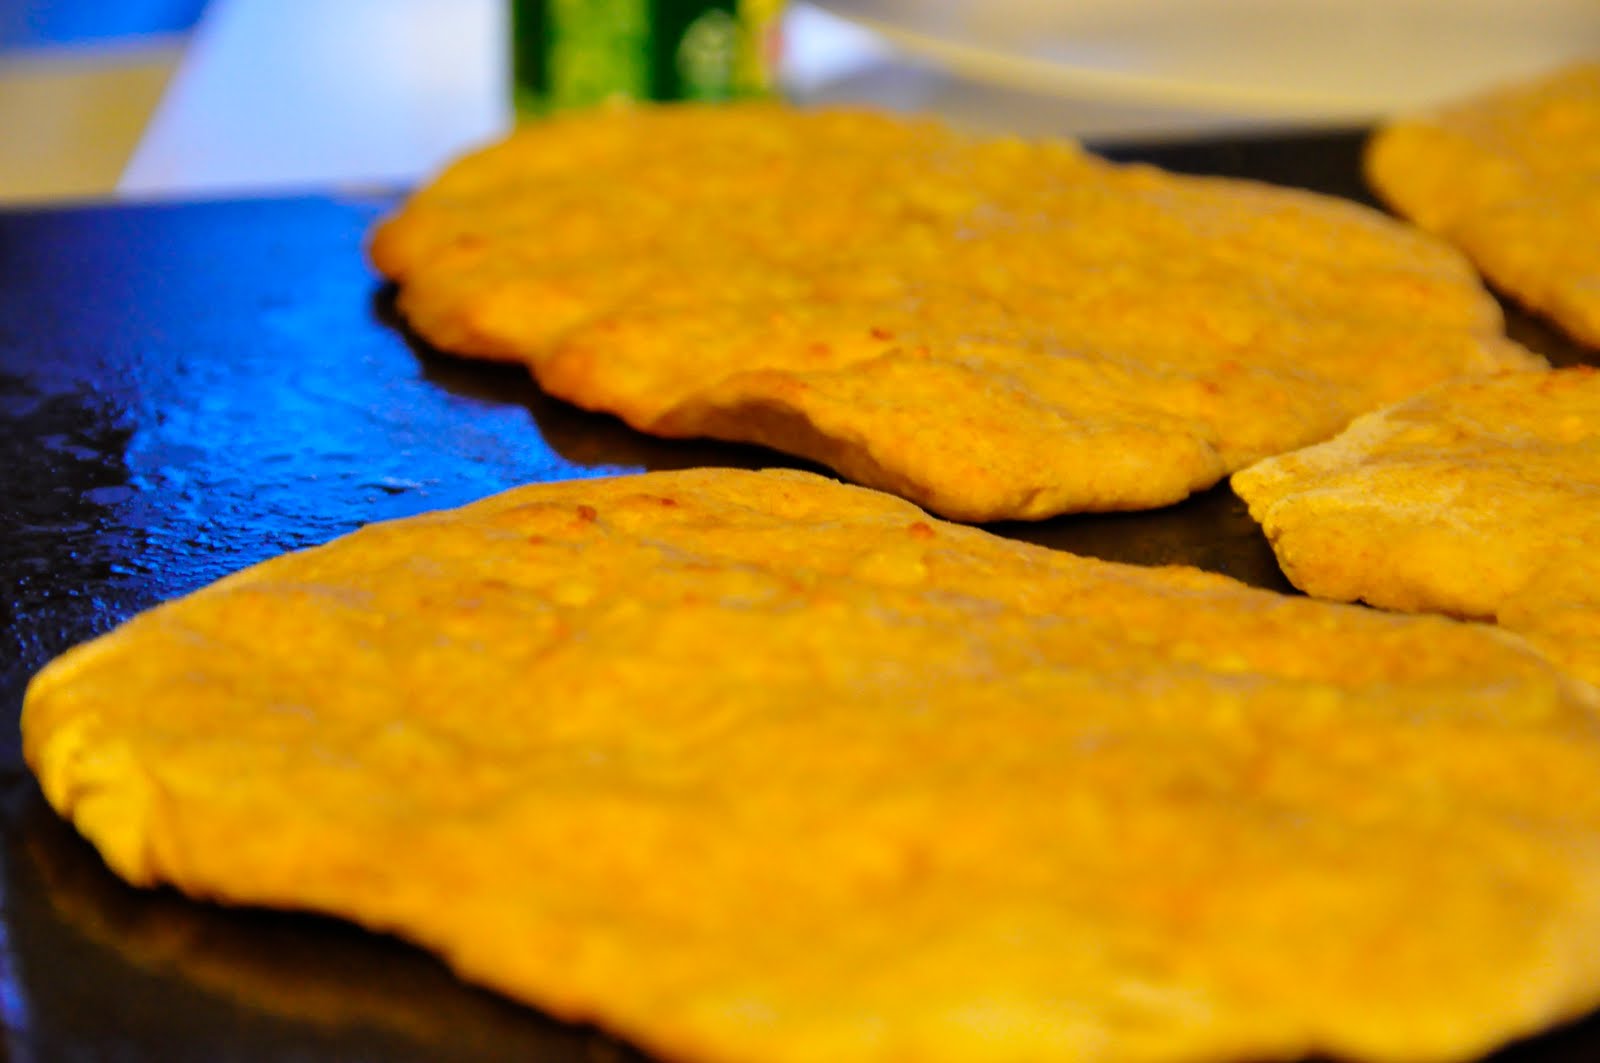
On a lightly floured area either roll or use your hands to make flat, round (or in my case whatever shape it decides to take)  pancake shaped pieces of bread.


I like to make my na'an of the garlic variety. If you want too just add some minced garlic to olive oil and spread out on the mini loaves. If you don't want garlic then you are good to go and just pop 'em in the oven!

Bake at 375 until they get slightly golden brown on the top.


Then serve your amazing na'an with whatever delicious indian food your heart desires.


For us it was some fantastic chickpea, pepper, and onion tikka masala and it... was... out of this world :)

Enjoy!